
IDPhotoSize
محرر صور الهوية الرسمي — مجاني، فوري وخاص. صورتك لا تغادر جهازك أبدًا.
Give your photo the identity it deserves!
The Ultimate Guide to Taking Your Own Passport Photo at Home
Why Take Your Own Passport Photo?
Getting a passport photo at a pharmacy or post office can be a frustrating experience. It often involves waiting in line, paying $15 or more for two small prints, and ending up with a photo you don't even like.
Taking your own passport or visa photo at home gives you complete control. You can take as many shots as you need until you get one you're happy with, it costs next to nothing, and with tools like ID Photo Size, ensuring your photo meets government specifications has never been easier.
Here is exactly how to capture a flawless, compliant ID photo from the comfort of your home.
1. Find the Right Lighting (Crucial Step)
The number one reason home passport photos get rejected is bad lighting. Government agencies strictly forbid shadows on your face or the background.
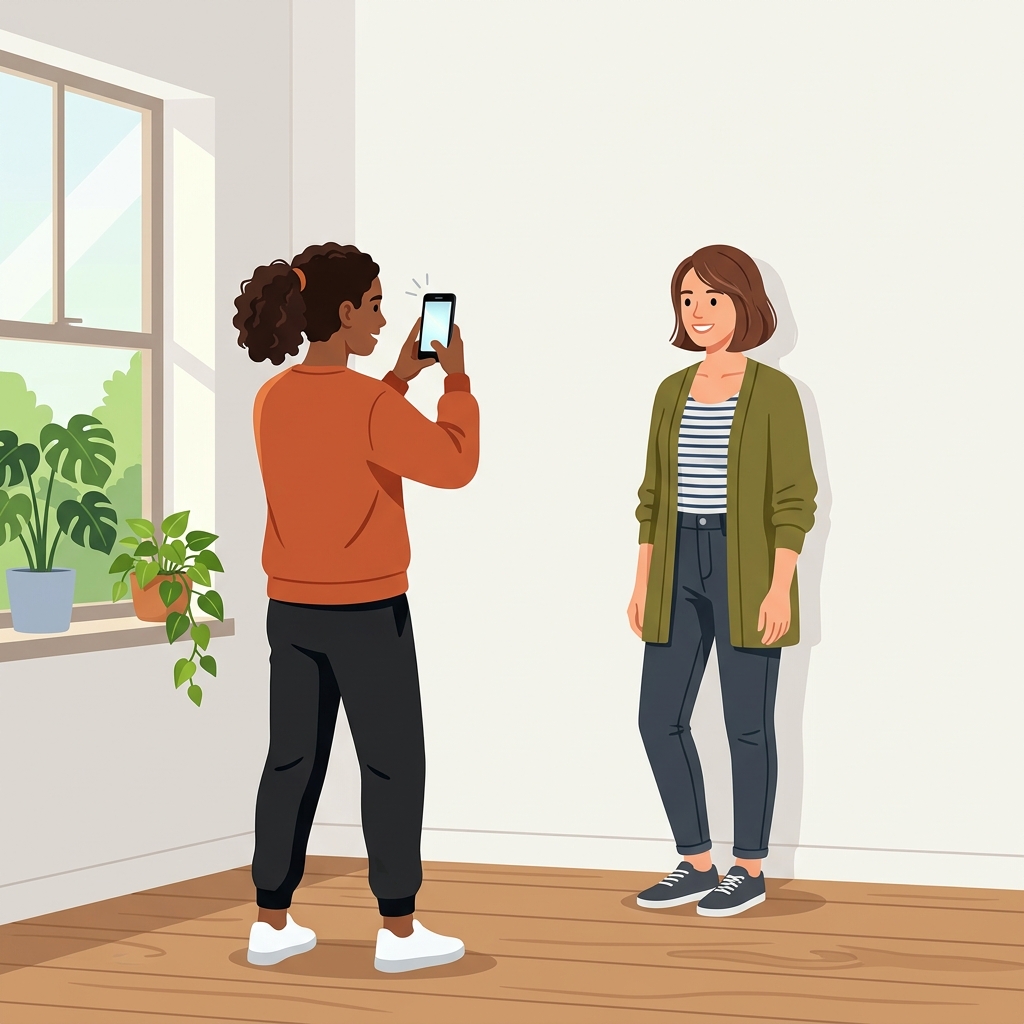
- Do: Face a window during daylight hours. Overcast, natural light is the absolute best light source for passport photos because it provides soft, even illumination without harsh shadows.
- Don't: Stand directly under overhead lights (which cast shadows under your eyes and nose) or use your camera's flash (which causes glare and sharp background shadows).
- Tip: If one side of your face is slightly darker, hold a piece of white paper or a white towel just out of frame on the dark side to bounce light back onto your face.
2. Set Up Your Background
While our tool can remove and replace backgrounds, starting with a clean background makes the process much smoother and results in a more natural-looking final image.
- Find a plain, solid-colored wall. White or off-white is ideal.
- Stand about 1 to 2 feet (30-60 cm) away from the wall. Standing too close will cause you to cast a shadow on the wall behind you.
- Make sure there are no patterned wallpapers, doors, or picture frames in the shot.
3. Position Your Camera Correctly
You cannot submit a selfie. Selfies taken at arm's length distort your facial features, making your nose look larger and your ears smaller, which can cause rejection by biometric scanners.
- Use a tripod or prop up your phone: Place your phone on a shelf or use a tripod.
- Eye level: Ensure the camera lens is exactly at your eye level. If it's too high, you'll be looking up; if it's too low, you'll be looking down.
- Distance: The camera should be about 4 to 6 feet (1.2 to 1.8 meters) away from you.
- Use the back camera: The rear camera on your smartphone is much higher quality than the front selfie camera.
- Get a helper: If possible, have a friend or family member take the photo for you.
4. Pose and Expression
Government guidelines are very strict about how you must present yourself.
- Head position: Face the camera completely straight-on. Do not tilt your head up, down, or to the side.
- Expression: Maintain a neutral facial expression. Do not smile. Both eyes must be open, and your mouth must be closed.
- Shoulders: Ensure your upper shoulders are visible in the frame. Sit or stand up straight.
5. Dress Code and Accessories
What you wear matters just as much as how you pose.
- Glasses: Most countries (including the US) do not allow glasses in passport photos. Take them off to be safe. If your country allows them, ensure there is absolutely zero glare on the lenses and the frames don't cover your eyes.
- Clothing: Wear normal, everyday clothing. Avoid wearing white, as it can blend into the white background. Do not wear uniforms or anything that looks like a uniform (including camouflage).
- Headwear: Hats and head coverings are generally not allowed unless worn daily for religious or medical purposes. Even then, they must not cast shadows on your face, and your full face (from hairline to chin) must be visible.
- Hair: Make sure your hair is tucked behind your ears and not covering your eyes or eyebrows.
6. Process and Crop Your Photo
Once you have a great photo that follows these rules, you need to format it to the exact specifications of the country you're applying to. This is where ID Photo Size comes in.
Instead of manually trying to measure the distance from your chin to the top of your head in Photoshop, simply upload your photo to our tool:
- Select your country and document type (e.g., US Passport, UK Visa).
- Let our system automatically remove the background and replace it with the compliant color.
- Our AI will detect your face and crop the image to the exact biometric proportions required.
- Download the digital file for online applications, or use our collage maker to print a 4x6 sheet at your local pharmacy.
By following this guide, you'll save time, save money, and end up with a passport photo you don't mind looking at for the next ten years!